Author: rkondner
Embarcadero’s Enterprise Mobility Services (EMS) is a turnkey middleware solution, part of RAD Server that supports secure, encrypted communication using an industry-standard REST interface. With built-in support for users and groups, EMS is a perfect platform for exposing your custom REST endpoints to a wide range of authorized clients.
Developers will especially appreciate the ease with which corporate data and features can be securely accessed from mobile clients, which normally lack the ability to easily interface with enterprise data.
A common request from developers testing EMS is how easy is it to get data from a remote database through a REST API call and display the data on an EMS Client application.
This post shows creating a new EMS Package to get data from a remote database through a REST API call and display the data on an EMS Client application.
This post will show:
FireDAC JSON Streaming Capabilities as a way to expose resources from a server database and then consume the data from a client application using a BackendEndPoint connection:
- SaveToStream, LoadFromStream with sfJSON format
- Expose as resource, consume via BackendEndPoint
Use FDSchemaAdapter, a very powerful FireDAC component to allow us to:
- Capture master/detail relationships on EMS Server
- Exposes the master/detail relationships data on the client application
- Direct hooks to streaming and invocation
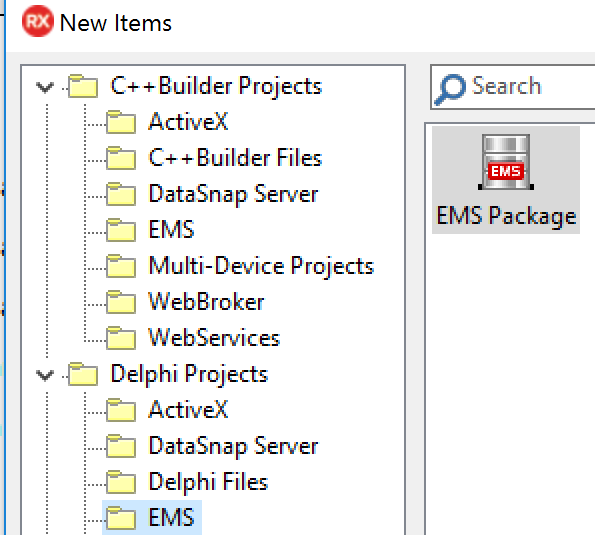
1. First, let’s create a new EMS application.
File | New | Other | Delphi Projects | EMS | EMS Package
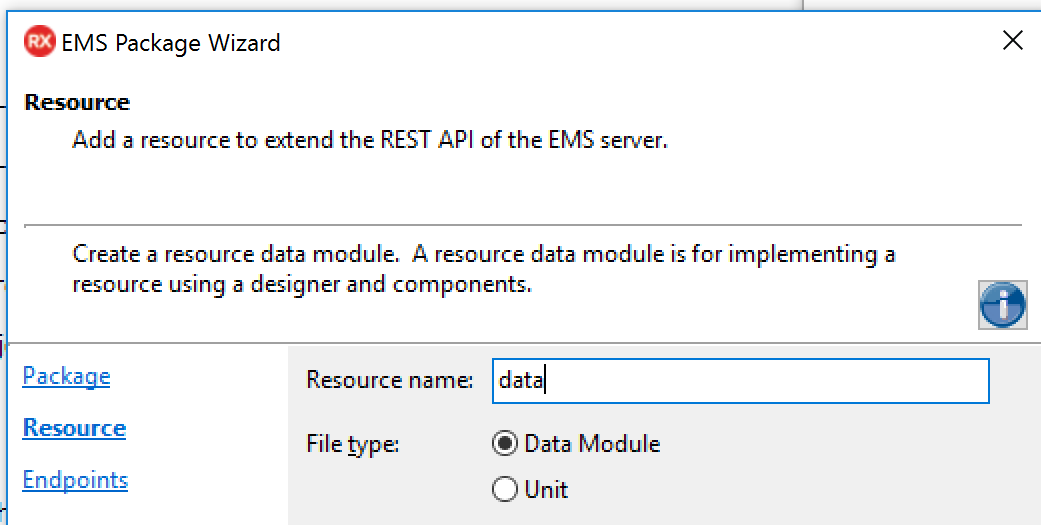
2. Select “Create package with resource” because we want to expose database data.
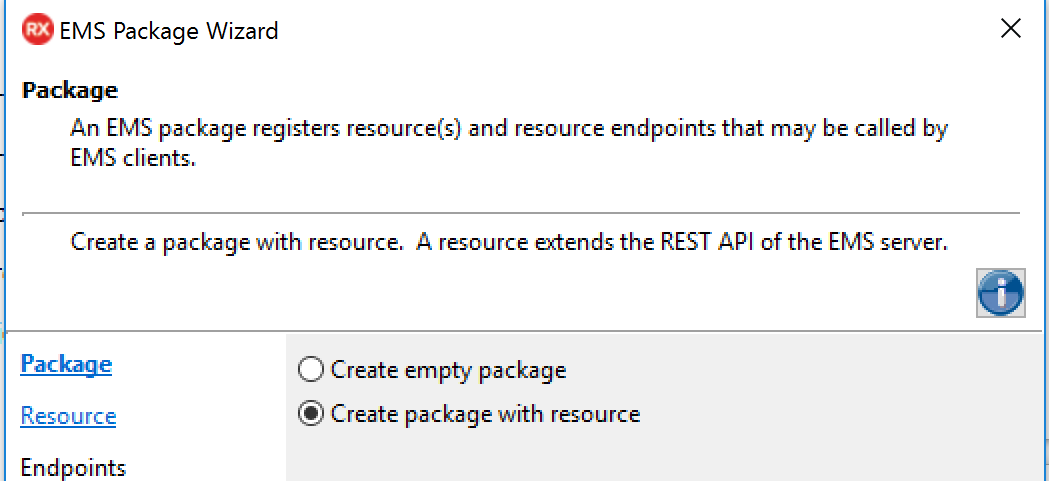
3. Enter a “Resource name”. This will be the URL portion we will use for the REST API call. Later you can change this “Resource name” in code. Let’s call it “data”.
And we’ll use a Data Module, so we can add our non-visual data access controls, to drop onto the Data Module form that makes it easier to access database information.
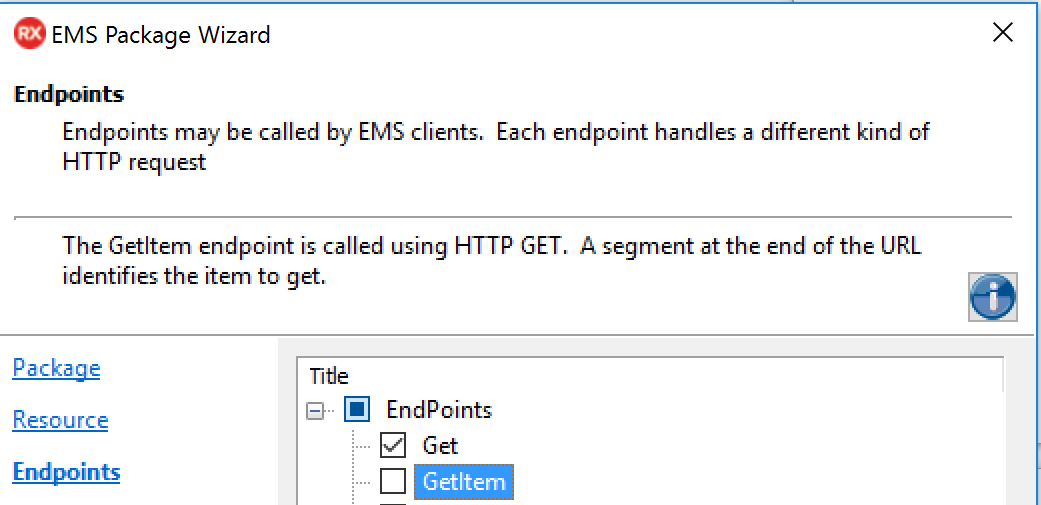
4. Here we can implement our REST Endpoints. For this application let’s only select Get.
Get is used for getting the entire resource like Select * from Employee, but GetItem can be used to get just one specific element from the database, like a where Last_Name = “Nelson”.
Click Finish
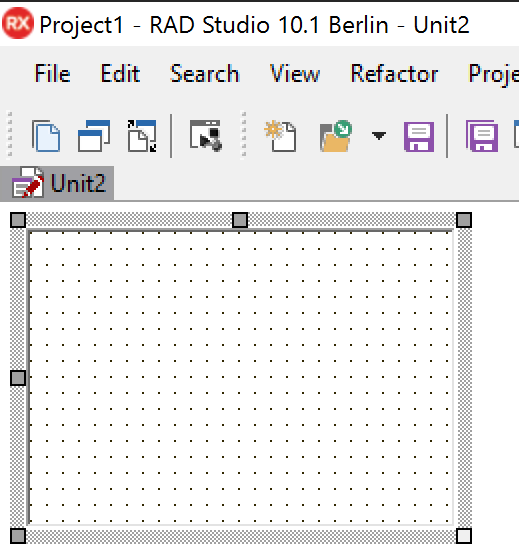
5. Our EMS Server project gets created, with our Data Module:
6. It has our ResouceName called ‘data’ and it’s a TDataModule. And we have our Get procedure for us to implement:
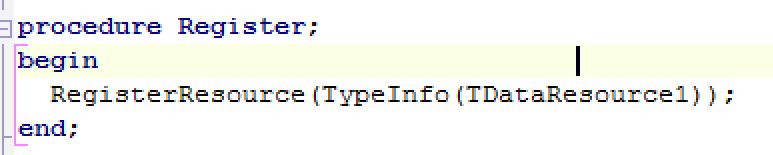
And it has this generic Register procedure to automatically register the RET endpoint for us when the EMS Server starts:
7. Get implementation.
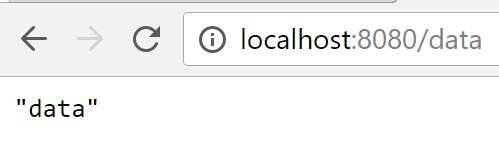
Get is implemented like this, so calling http://localhost:8080/data will return “data”.
Using
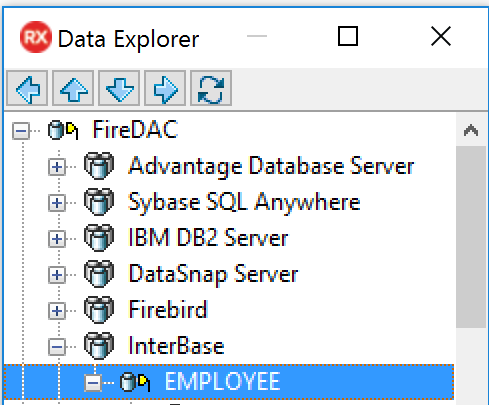
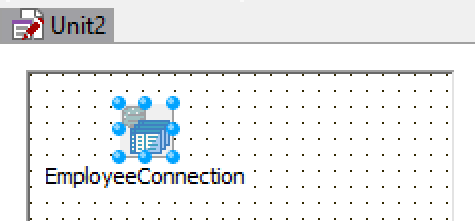
FireDAC InterBase Employee database from Data Explorer, drop Employee connection onto DataModule form. This adds
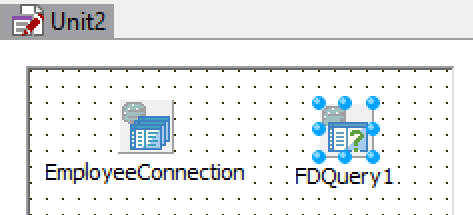
EmployeeConnection (FDConnection) onto DataModule. And add
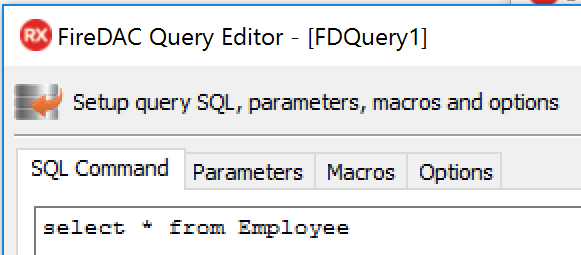
FDQuery onto DataModule. Double-click FDQuery and enter SQL Command =
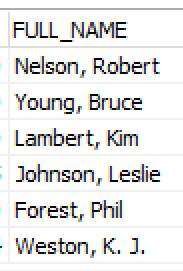
select * from EmployeeClick Execute query, to test that it returns data. The FULL_NAME is the data we want to return to the client app.
In addition to the InterBase database, FireDAC also supports native database drivers that give you first-class access to the powerful and advanced features that make each database unique, including access to specific APIs and features for mostly all databases including MySQL, Microsoft SQL Server, Oracle Database, InterBase, PostgreSQL, DataSnap, SQLite, Sybase SQL Anywhere, Microsoft Access, IBM DB2 Server, Informix, Firebird, Advantage Database, Teradata (ODBC), and NoSQL Driver for MongoDB.
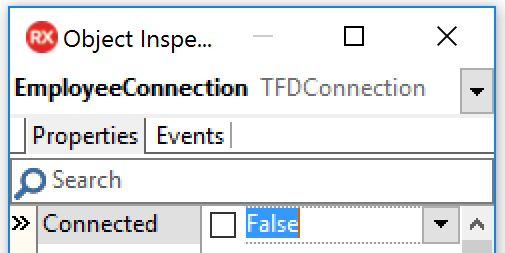
9. On the FDConnection (EmployeeConnection) we will set the Connected = False.
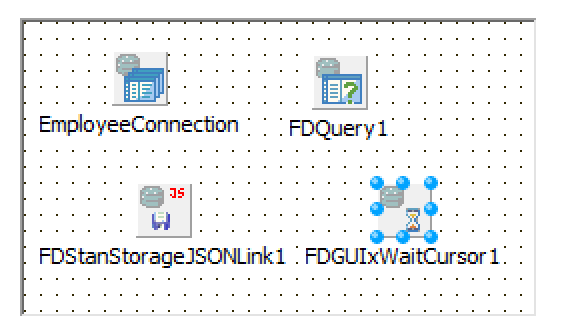
10. For our FireDAC data to save data in JSON format, we need to add a few additional components to the DataModule. We need to use FDStanStorageJSONLink component, this will add the needed Unit FireDAC.Stan.StorageJSON to our EMS Server to allow us to save data in JSON format.
And every FireDAC application needs GUI Wait Cursor component, FDGUIxWaitCursor:
We don’t need the FD InterBase Physical Database connection component, FDPhysIBDriverLink, because it’s automatically added with the EmployeeConnection, with the correct IB driver name:
11. All the needed components have been added to the DataModule, now we can move to write some code to implement the Get verb: First, we’ll Connect to the EmployeeConnection, then we can run the Query:
The EMS Server is stateless, so every time we connect, we can run the Query. Now that we have our connection and Query, we can fill in the Response. The Response building is the actual content we will send back to the client. The building has a few ways to send back the data, such as SetValue, SetBytes, SetStream, but here we will use SetStream. And to return a Stream, we need a Stream variable (aStream: TStream). aStream of type TStream. And we’ll need an instance that can be any memory stream, so we’ll use aStream := tMemoryStream.Create;.
Next, we save to the Stream. So what we can do is take our FDQuery and call SaveToStream and pass in our Stream. The second parameter is the format we want for the Stream, we have a few options for the format we can use, such as XML, Binary or JSON, but for this example, we will use JSON which is a common Open format for use, especially with REST Servers. Note: Binary would be more compressed data, but we will use JSON data for our EMS REST Server.
Now that we have the Stream, we can return the Stream to our clients as the Result. We have two parameters to add to our AResponse.building.SetStream(aStream,,) method. First is the Content type that we are returning, which is just the JSON, which is ‘application/json’ that is part of the standard JSON format, and the last parameter is if we own the Stream, if we own the value of the Response, then we say True.
If we pass the Stream once owned by the Response, once the Response is returned, it will free the response automatically. Otherwise if we create the Stream right away, then it will not be available for the Response. This is the standard mechanism that the Response owns the Stream.
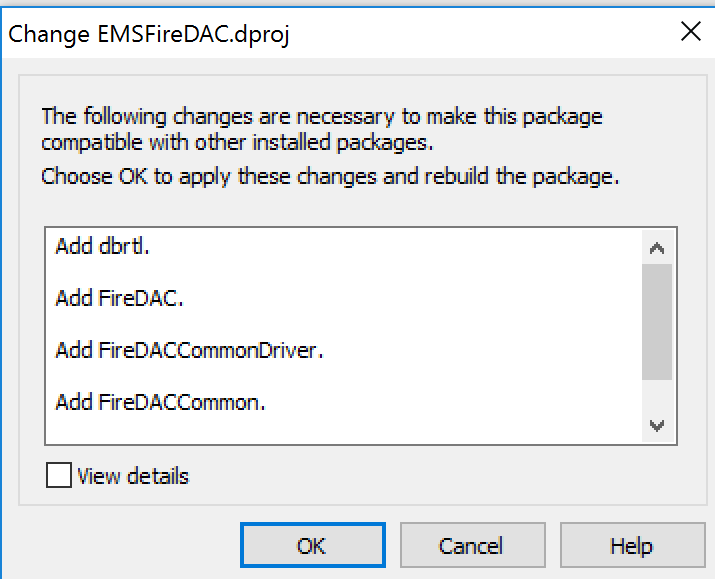
12. This project is part of a package. When we build the EMS Package we get Warnings that we have dependencies, like this. This is fine and expected. So we click OK to add these needed dependencies to the project. If you re-build you should no longer get any warnings.
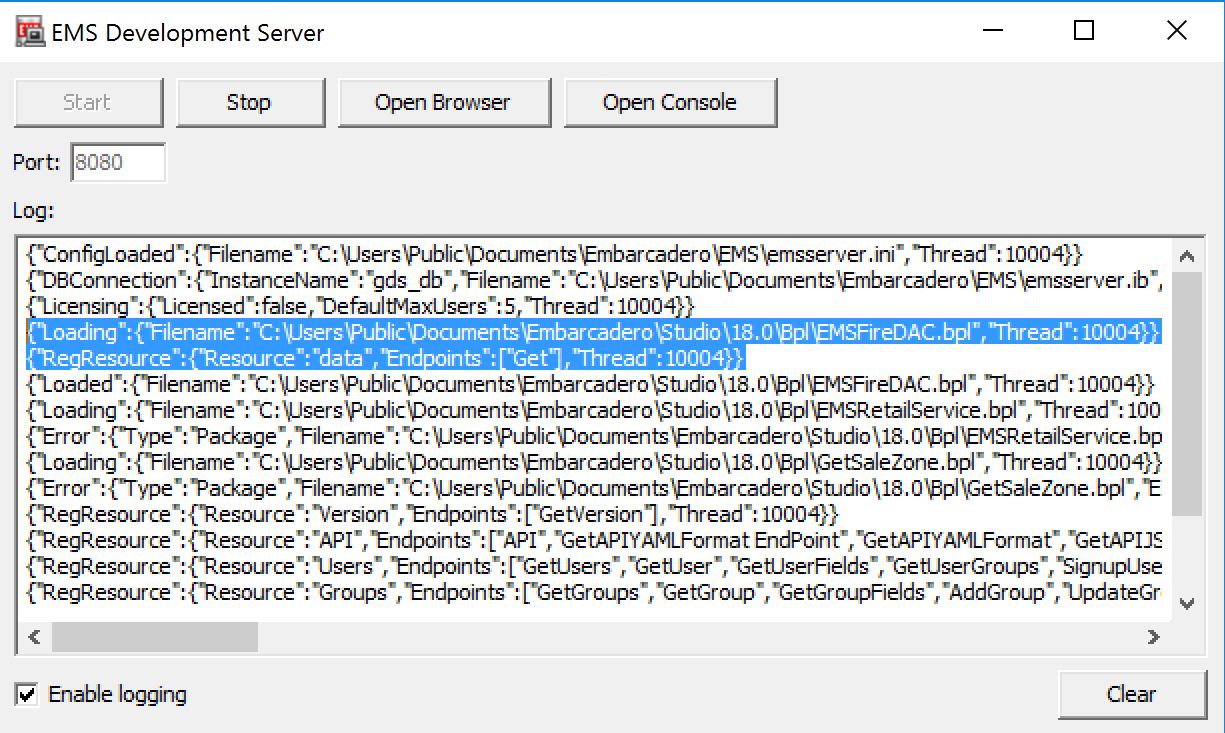
13. Run the project. This starts the EMS Development Server. And loads our EMSFireDAC.bpl package, and exposes our ‘data’ resource and our “Get” endpoint:
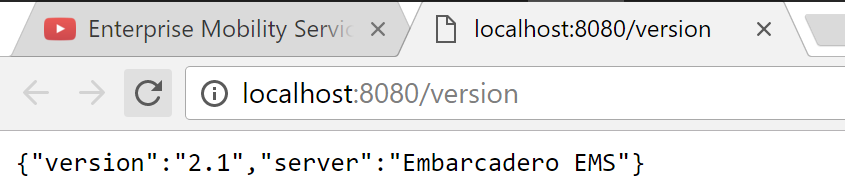
14. Click Open Browser button on EMS Dev Server to check if our Get Endpoint is working.
By default, the EMS Server calls the ‘version’ Endpoint and returns the version and server information for this EMS Server:
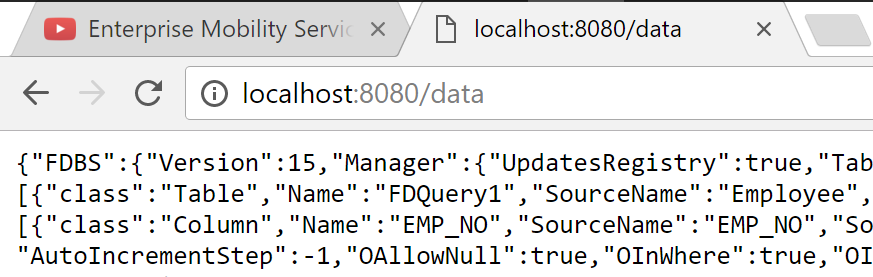
We can now call our ‘data’ resource that will call our “Get” Endpoint by default. And here is our Query returned in JSON format. Very cool!!
15. And the EMS server logs all the requests:
EMS Client Application
16. Next, we can create EMS Client applications to connect to the EMS Server, call the ‘data’ resource and return data to the client.
a. To the same project, add a New | Delphi | Multi-Device Application | Blank Application.
b. Call it and Save it as ‘EMSFireDACClient’.
c. Start the EMSFireDAC Dev Server, if not already started.
d. Style = Android.
e. Add Button (align to TOP), Text=Get Data and ListView (align to Client) to the UI.
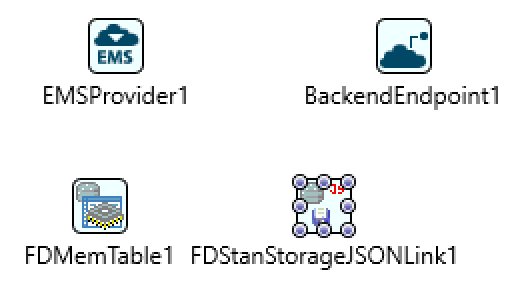
f. Next, we need to connect to the EMS Server. There are multiple ways to do this. Such as REST components, and that’s fine, but adds some complexity when you need to add authentication. We will use the simpler, more compatible with the BAAS providers, it’s part of the Back End As a Server technology that we built in XE6. We will use the EMSProvider component. The EMSProvider component is specifically tied to EMS. Add EMSProvider to the form.
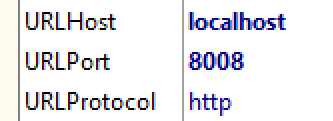
16. Set EMProvider URLHost, URLPort and URLProtocol to your EMS values:
17. Right-click EMSProvider component | TEST Connection: The Endpoint ‘version’ gets returned if successful connection:
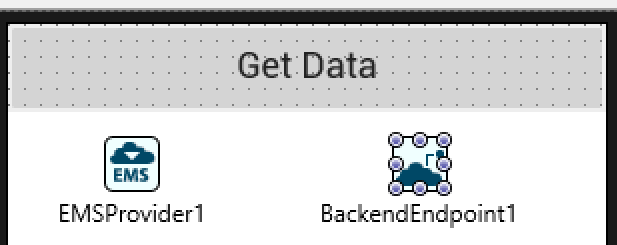
18. Next, we need an Endpoint. An Endpoint is a generic connection to an URL on the EMS Server.
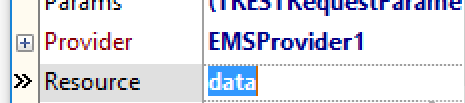
Add BackendEndpoint component onto the form. The BackendEndpoint component hooks automatically to the EMSProvider. And we will enter the specific resource on the EMS server we want to call, the ‘data’ resource.
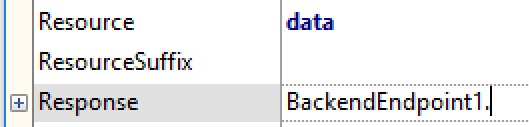
Note: We could also hook up a Response object, or we can just have the Response object created automatically for us.
19. You can test the Response Object returns, by right-click the BackendEndpoint | Execute. A Response code 200 – OK means a successful Response from the EMS Server, and the Response property gets filled.
20. Next, we need a FDMemTable, because that is where we want to store our information, even just in memory on the client application. Add a FDMemTable to the form.
21. We need to add another FD JSON Streamer component (FDStanStorageJSONLink) onto the form because on the client now we will be doing the opposite operation from the Server of reading from the FDMemTable. This is what FireDAC requires. Add a FDStanStorageJSONLink onto the form.
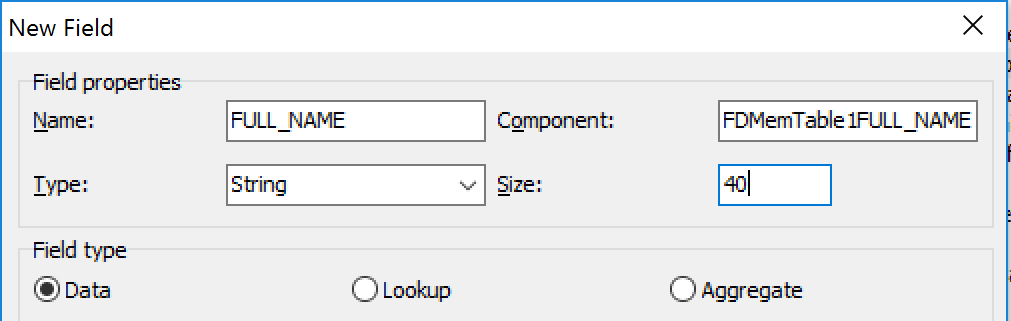
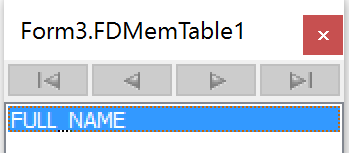
22. Next, let’s connect the ListView with the data. One way to do this is to use the FDMemTable Fields Editor. Right-click FDMemTable component | Fields Editor, Right-Click | New Field. Type = String , Size = 40.
We are creating this at Design Time, so we can visualize Live Bindings to use the field automatically at Design Time.
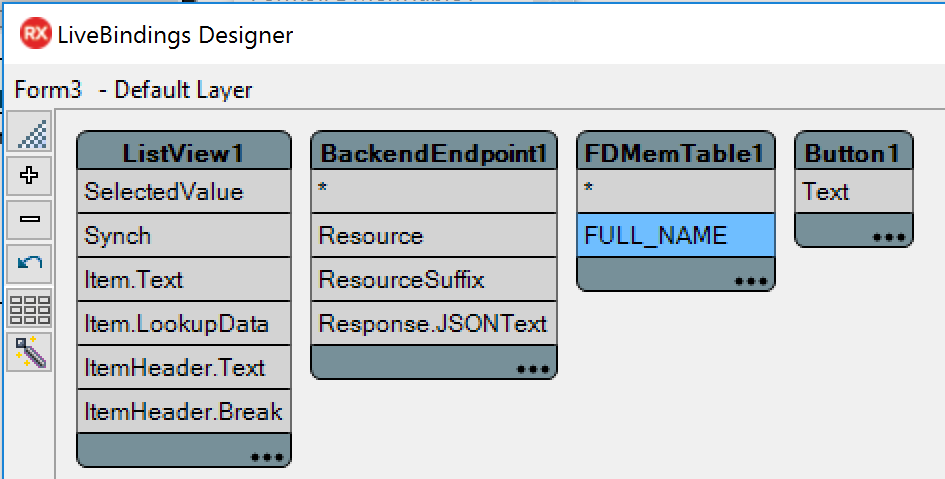
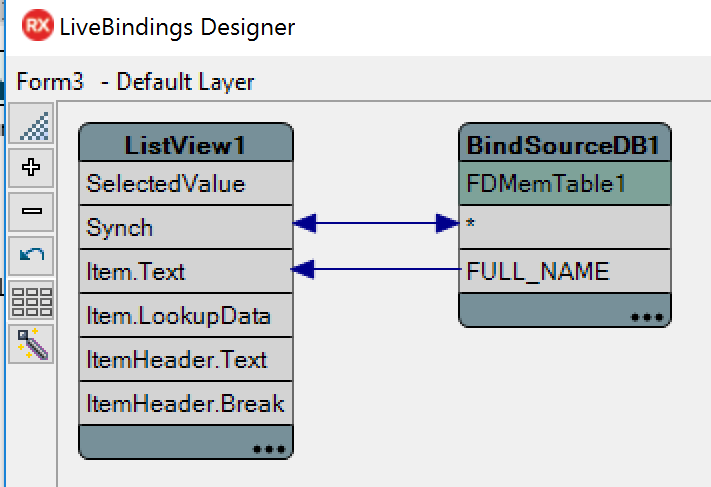
23. Use Live Bindings Designer (View | Live Bindings Designer)
24. And we want the FDMemTable to be synched with the ListView (connect * of FDMemtable to Synch of ListView), and FULL_NAME on FDMemtable connected to TEXT of ListView:
25. Lastly, we need to write the Button Click code to get the data from EMS Server.
Here we will be doing the opposite of what we have done on the EMS Server.
Double-click the Button ‘Get Data’
First, we’ll execute the ‘data’ REST call by calling BackendEndPoint1.Execute;
Next, we’ll check if we got a Response, using BackendEndpoint1.Response.Content;
Next, we’ll get our FDMemtable object and load that data returned from the EMS Server: FDMemTable.LoadFromStream();
The LoadFromStream method is the opposite of what we did on the EMS Server side.
And similar to the EMS side, we need a Stream variable on the client also; var aStream: TStream;
Any inMemory Stream can be used here, but what is handy is to use a TStringStream because then we can pass the constructor directly the String with the content:
To reset the position of the Stream, we can call: aStream.Position := 0;
Next, we’ll get our FDMemtable object and load that data returned from the EMS Server
The LoadFromStream method is the opposite of what we did on the EMS Server side.
So, similar to the EMS side, we need a Stream variable on the client also.
Now we can read the aStream in a JSON structure that we are reading back into our client application
FDMemTable1.LoadFromStream(aStream, sfJSON);
Lastly, since we don’t have automatic management like we had on the EMS Server, we need to free the stream:
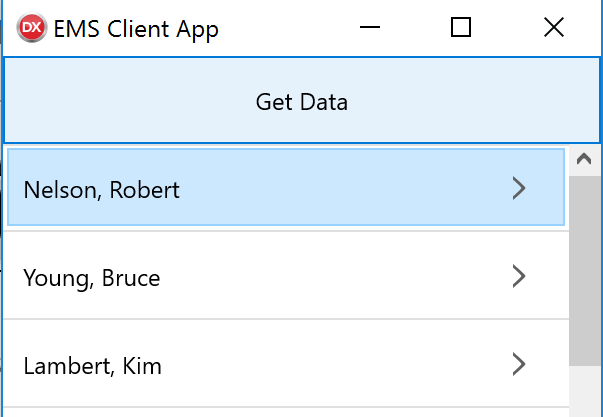
26. Run the EMSFIreDACClient application.
With the EMS Server running, run the EMSFIreDACClient client application. Click the Get Data button. This calls the ‘data’ Resource on the EMS Server that runs the Query on the Employee database and returns the JSON array back to the client and displays the FULL_NAME on the client application. Excellent! Congratulations!
And that’s how easy it is to get data from a remote database through a REST API call and display the data on an EMS Client application using the Embarcadero RAD Server EMS Server and FireDAC!
[DownloadButton Product=’RAD’ Caption=’ Download the current RAD Studio today and try Enterprise Mobility Services (EMS) as a turnkey middleware solution’]